Shop Light That Screws Into Socket: Easy Install LED Workshop Lights
Does your Workshop feel like a dungeon making it nearly impossible to get any work done in there? Yeah, it’s super frustrating. It’s one thing to not be able to see the details in your project, but it’s a whole other hassle to have to rewire your shop. So, you’re thinking there has got to be a shop light that easily screws into the socket right?
The two best screw-in lights are either a deformable light called the TRiLIGHT that has 3 aluminum adjustable blades that house 3 LED panels, or the MPI a full lighting system that has an LED screw-in hub that connects to 4 separate LED pods up to 9.5 feet away allowing you to customize your shop lighting.
The TRiLIGHT and the MPI system do not require any special rewiring for your shop. We'll cover why these lights are the best on the market for your shop, show you how easy they are to install, and provide you with testimonials so you know what to expect.
First, don’t be fooled by knock off products, there are so many out there. Most people don’t realize they are taking a risk when buying something off Amajungle.com. Not only are a lot of the products just cheap knock-off copies of an original product from an innovative company using their hard work, ingenuity and new technology to bring new products to market, but the copy products suffer in safety certifications, quality, and lack of customer service and warranty follow through.
STKR originally invented the screw-in deformable lighting system, got backed by a Kickstarter project, became known for its high durability, attained certified UL standards by SGS, but unfortunately, the TRiLIGHT has been poorly copied and the market is now flooded with cheap knock-offs.. For more information covering this view our other article, “Trilight motion sensing garage ceiling light - Why buy the original over a copy?” We ask that you support the hard working USA inventors and spend the extra money for a high quality, ethical product.

The Best Screw-in LED Garage Lights
|
FEATURES AND BENEFITS |
Light Bulb |
Shop Light |
Trilight copy |
|
|
Quick No Tool Installation |
Yes |
Yes |
No |
Yes |
|
Motion Sensor |
Yes |
No |
No |
Varies |
|
Adjustable Heads to aim light |
Yes |
No |
No |
Yes |
|
Designed to work with light switch |
Yes |
Yes |
Needs professional wiring |
Yes |
|
Brightness |
4000 lumens |
800 lumens |
Varies Typically less than TRiLIGHT |
Varies Some claim high lumen count * non-regulated |
|
Power Consumption |
24 watts |
60 watts |
Varies Typically more than TRiLIGHT |
80+ Watts |
|
Requires extension cord |
No |
No |
Possibly |
No |
|
Requires professional install |
No |
No |
Some Models |
No |
|
Average life of light or bulb |
50,000 hours |
Average 1000 hours |
Varies between bulb & ballast failures |
Varies |
|
Survives drop test on concrete |
Yes |
No |
No |
No |
|
Requires additional hardware Warranty |
No 3 Year |
No 1 year -Most Manufacturers |
Yes bulbs & adapters sold separately 1 year -Most Manufacturers |
Varies 30-day return |
|
BEST OPTION Performance & Easy Install |
Summary of features between TRiLIGHT and copy versions found on Amajungle.com
The TRiLIGHT by STKR is backed by a 3-year warranty and has been drop-tested on concrete ensuring its durability. You will end up spending less in the long term when considering the LED will last you at least 50,000 hours and the fact the TRiLIGHT only uses 24 watts to operate makes it more energy-efficient and better for the environment.
One of the other unique features is its acute motion sensor is very responsive and incredibly handy. It is also adjustable so that you can tailor it to your specifications. Once no motion is detected, the system automatically shuts off after 90 seconds which really comes in handy if your hands are full.
How many Lumens for a Workshop?
As far as Lumens are concerned, there is a lot of wrong lumen formulas out there that suggest you need a crazy amount of lumens like 100 per square foot of your shop, and if you have a 30 x 40 shop that would be blinding and very expensive.
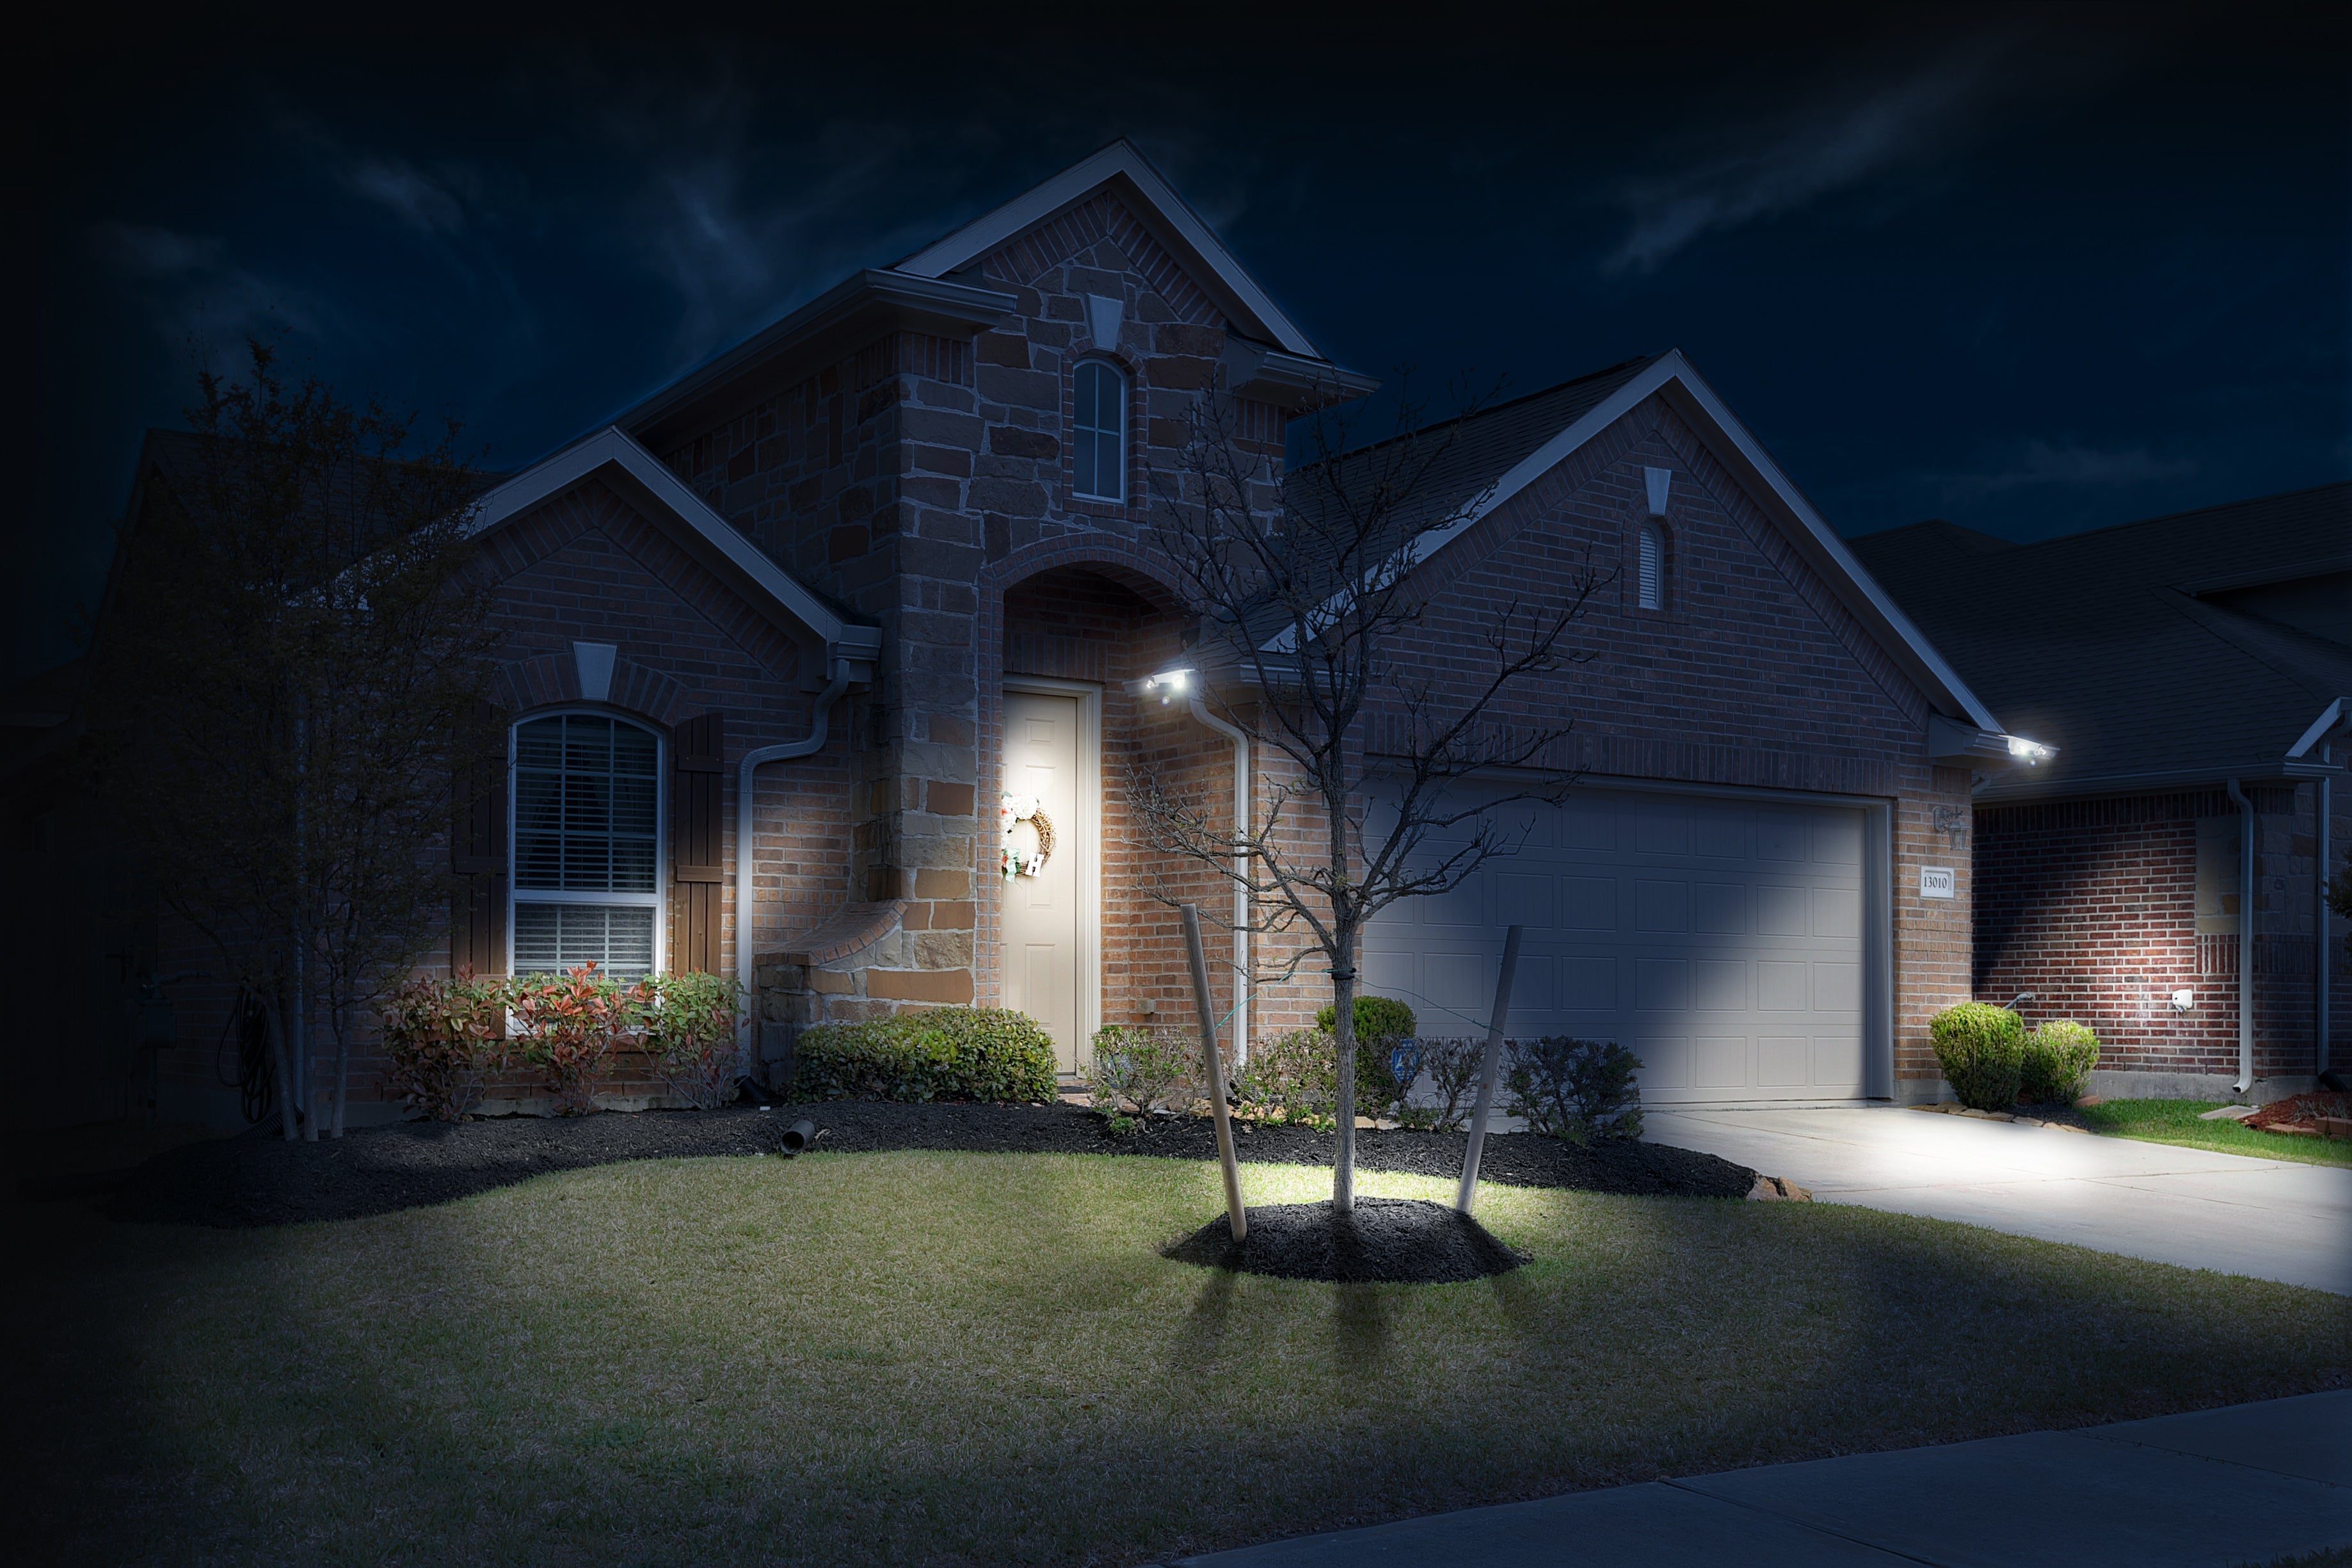
First of all, know that a 60-watt incandescent light bulb puts out about 800 lumens. A lot of two-car garages have only one 800 lumens light bulb and the garage is pretty low lit. Now imagine that garage with five times that amount of light. That is what you can expect the TRiLIGHT to produce.
It's not just about lumen count it's also about the craftsmanship and functionality of the light fixture itself. A lot of manufacturers claim really high lumen counts, but not all of them are regulated accurately.

If your space is a two-car garage or larger then consider how many screw-in fixtures you have and getting multiple TRiLIGHTs to light up this space.
Also, for that two-car garage or larger, consider getting the MPI full lighting system. It's unlike any other lighting on the market and doesn’t require you to rewire. It offers 5 sources of lighting powered out of an existing single screw-in light bulb socket.
It brightens up your dungeon workshop and transforms it into a mechanics dream. It's extremely customizable and allows you to place the lighting exactly where you need it and allows you to even tidy up the wiring using its unique cable management system.
When talking about lumens, again remember the dimly lit garage is using a 60-watt incandescent bulb putting out 800 lumens, the TRiLIGHT upgrades that to 4000 lumens multiplying the brightness 5x, now imagine what five sources of light spreading out 7500 Lumens of light would look like. That’s over 12 times the amount of light of just a standard bulb!
Surprisingly enough the way the lighting is captured in each of the separate pods produces a very bright workspace that it’s not completely blinding to be around. Its LED light is dispersed by small bulbs in a circular display distributing the light in 360 directions around the room compared to other LED light fixtures that only have a few blinding LED bulbs.
Best Easy Install Lights For Your Workshop
|
incandescent light bulb
|

How to Install a Screw-in Light Fixture
For both the TRiLIGHT and the MPI, you literally screw-in the main fixture just like you would a light bulb into the existing E26 base, and for the MPI both the E26 and E27 base. We will dive into how these two fixtures are installed so that you can make a clearer buying decision if you are on the fence about which one to get.
Steps to install a screw-in light fixture:
- When installing it’s encouraged to unbox the light first and read all of the manufacturer’s instructions and warnings ahead of time.
- To install you will want to grab a flashlight and ladder that is tall enough for you to reach the base. It helps to have a partner hold the light unless you have a “hands-free option like a Flexit Flashlight or a Moble Task light
- After you get set up, you will want to make sure the power is off to the socket by turning the power off at the switch and unscrew the current bulb that’s already screwed in.
- Once you have safely discarded or rehomed the previous bulb you will want to grab the new fixture and start screwing it to the “right” or clockwise until tight, but not too much.
That’s the basic idea, now let’s get specific about each screw-in fixture and what you can modify to your preferences.
TRiLIGHT Installation:
There are a couple of features you can change. One is if you would like to use the automatic motion-sensors or use the light switch to turn the light on and off. Once you have decided that and you are using the motion sensor you can decide to modify how sensitive it is.
- Turn Motion Sensor Knob from low to Max.
- This system can detect you before you enter the area up to 15 feet away.
- Turn Motion Sensor to “Off” position to continue to use your light switch
- Adjust the three blades lighting for your workshopping project.
- Blades positioned up disperses the light in a large array around your space.
- Blades positioned all the way down it makes the light more focused and concentrated straight down.
- During each project, you can tweak the blades to shine right where you need it.
MPI Installation:
While you don’t have to rewire, you will need just a couple of common household tools to help you secure the 4 pods that accompany the center screw-in hub. It’s fairly easy to install, make sure you follow all the safety warnings and instructions prior to installation ensuring you stay safe!

Mount the pods directly to finished drywall/studs or unfinished ceiling joists, shelving, or grid rack. Just make sure you are using common sense when installing and be sure to remove projects or clear the clutter out of the way first.

Required tools: Drill, Screwdriver, Pencil or Pen, Ladder
- After the main hub is twisted in, you plug each pod cord into the round port located on the hub and allow the 4 pods to gently dangle in the air. Be sure to prevent any of the dangling pods from any accidently falling to the floor as they have a nine and a half foot cord.
- Decide the desired location for the first pod and securely place the ladder accordingly.
- Carefully travel up the ladder with the pod and position the pod ideally 3 feet away from any wall.
- Remove the ceiling plate from the pod by unscrewing it in a counter-clockwise direction.
- Reconfirm ideal pod placement and with a writing tool, make marks through screw holes to indicate desired position.
- For a finished ceiling, use a 3/16th drill bit and drill holes and install supplied anchors. (If joists are apparent like an unfinished ceiling, no anchor is necessary, just the screws.
- Position plate over holes and make sure tabs on the plate are face down. Set screw into drill or screwdriver and tighten securely without overtightening.
- Twist pod into plate clockwise until pod is tightened into place but make sure to not overtighten.
- Be aware of cords, when installing more pods ensure no cords cross each other.
- Now just repeat these steps with each pod install up to 9.5 feet away from the hub.
- Once all pods are secured into the desired place, the light switch can be turned on and you can determine if you would like the motion sensor sensitivity to be adjusted or completely turned off.
- Adjust the motion sensors’ sensitivity by turn dial from low to max levels up to a 20 foot radius away.
- The motion sensor can also be overridden making the light stay on for a temporary 2-hour interval.
- The main hub can support a Security Camera providing its main source of power through a USB port. Keep in mind the camera will only receive power when the light switch is in the “On” position and the motion sensor is activated.
- The Easy Cable Management System allows you to twist counterclockwise tiding up the extra slack in the cables. This is truly a revolutionary system in its contemporary design.

STKR Screw-in Lighting Testimonials
TRiLIGHT Original Deformable Garage Light |
|
|
Written by: |
3 adjustable LED Blades |
|
Austin on Feb 13, 2020 |
“Worth the money!” “Amazing light! I bought the cheap version of this light at first, wishing to save money. But as the saying goes "Greedy man pays twice." The cheap version was not bright at all. Seems like a traditional bulb was much brighter. It also was making weird noise, like the wires were not connected well. I took it down in 2 days, afraid that it might catch on fire. Also, the motion sensor of the cheap version never worked. Then I came across this website and decided to give it a chance. This Trilight is worth every penny for sure. It is much brighter!!! The motion sensor is working as supposed to. It turns on as soon as the door opens. Would def. recommend.” |
|
CHRIS TILLEY on Jul 17, 2017 |
“BEST LIGHT EVER” “SO WORTH THE $130 FOR THIS LIGHT. IT HAS A MOTION SENSOR FEATURE THAT CUTS ON AS SOON AS I OPEN MY KITCHEN DOOR TO HEAD INTO THE GARAGE. NOT TO MENTION THIS IS THE BRIGHTEST LIGHT I HAVE EVER USED! I WILL BE GETTING A FEW MORE!” |
|
Bob Shilling on Apr 27, 2017 |
“Saved me a ton!” “I had a local Electrician come out to the house and he wanted to charge me over $300! The Trilight is brighter and cost a fraction of that! Not to mention the light comes on when I walk in the garage! Awesome product!” |
MPI (Multi-Point Illumination) Full Shop Lighting System |
|
|
Written by: |
5 Individual LED Sources |
|
Josh K on May 18, 2020 |
“Awesome product” “Great Product BETTER Service First of all the STKR MPI is a great product, but perhaps more importantly Striker provides incredible customer service. I purchased an MPI that was damaged by the retailer (Sears), and when Sears would not address the problem, Striker was willing to make things right. I appreciate a company willing to take care of it's consumers and I recommend other support this company.” |
|
Tom C. on Aug 22, 2019 |
“Brilliant Light!” “This light is great! It may seem expensive, but it solves so many problems so easily and works so well it seems the premium price is justified. I was considering installing 4' LED strips with motion sensors in our garage, but was always dreading the whole thing, the wiring, the hanging, the hoping my expectations are met. With this, the install took minimal time, quick and easy! The light is about as bright as I would want, you don't want to look at it when it's on. It looks tactical and durable, which is perfectly suited for a garage. Our garage is 2 cars wide and 2 cars deep with a little side wood shop, with just one of these it's remarkably brighter in the whole garage.” |
|
AJ on Jun 17, 2020 |
“ Easy Setup” “Setting this up was super easy. Instructions were easy to follow and I really like the cable tidy system.” |